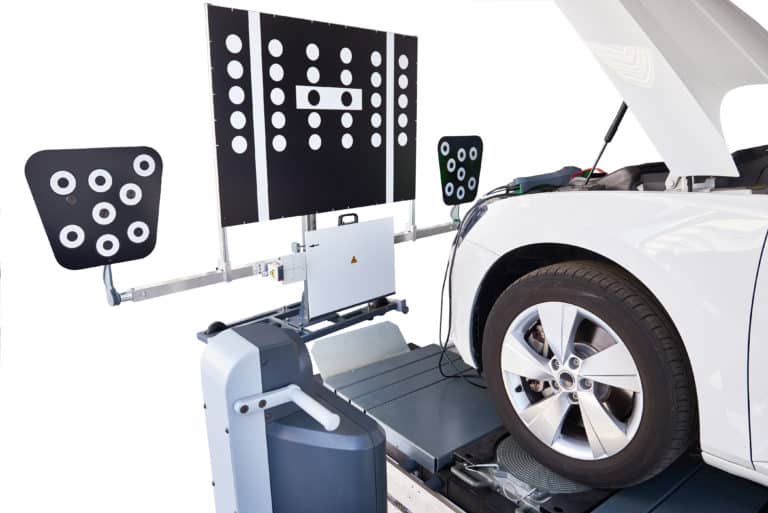
As an automotive calibration shop owner, you already know how critical precision and accuracy are when working with advanced vehicle systems. But with Rivian vehicles, things can get a little more complex. Rivian’s electric adventure trucks and SUVs, including the R1T and R1S, are loaded with cutting-edge ADAS, cameras, sensors, and radar-based safety features—all of which require proper calibration to function correctly. In this guide, we’ll break down everything you need to know about Rivian vehicle calibration, from when it’s required to the step-by-step process for different systems, including radar, cameras, steering, and more. We’ll also cover common calibration challenges and where to get the right training and equipment.
Understanding Rivian’s Advanced Driver Assistance Systems (ADAS)
Rivian’s ADAS, called Driver+, includes a suite of features designed to assist drivers with steering, braking, and overall vehicle awareness. These systems rely on high-tech components that must be properly calibrated to ensure they function accurately and safely.
Why Calibration Matters
Calibration ensures that Driver+ components, such as front and rear cameras, radar sensors, and ultrasonic sensors, operate within Rivian’s strict safety and performance standards. Without calibration, a misaligned sensor could cause:
- False emergency braking or lane departure alerts
- Malfunctioning adaptive cruise control
- Impaired collision detection and avoidance
Key Components of Rivian’s ADAS
Rivian vehicles use a combination of:
- Front-Facing Cameras: Assist with lane-keeping, traffic sign recognition, and forward collision detection.
- Radar Sensors: Measure the speed and distance of nearby vehicles and objects.
- Surround View Cameras: Help with parking, blind-spot monitoring, and 360-degree visibility.
- Ultrasonic Sensors: Detect obstacles at close range for parking assistance.
Safety Considerations for Calibration
- Only Rivian Certified Technicians are authorized to perform calibration on Driver+ components.
- Improper calibration can cause large system failures, leading to safety risks.
- Modifying Rivian-approved calibration tools or resizing calibration targets is strictly prohibited.
Now that we understand why calibration is essential, let’s look at when it’s required.
Situations That Require Calibration
Knowing when calibration is necessary helps prevent system failures and ensures compliance with Rivian’s standards.
Windshield Replacements
- The front Driver Assistance camera requires calibration if the windshield is replaced or reinstalled.
Bumper Repairs or Replacements
- Front and rear bumper cameras require static calibration if removed or replaced.
- The front center radar sensor must be recalibrated when replaced.
Side Mirror and Liftgate Camera Adjustments
- If the side mirror or liftgate camera (R1S models only) is removed or replaced, calibration is required.
Suspension Adjustments and Alignments
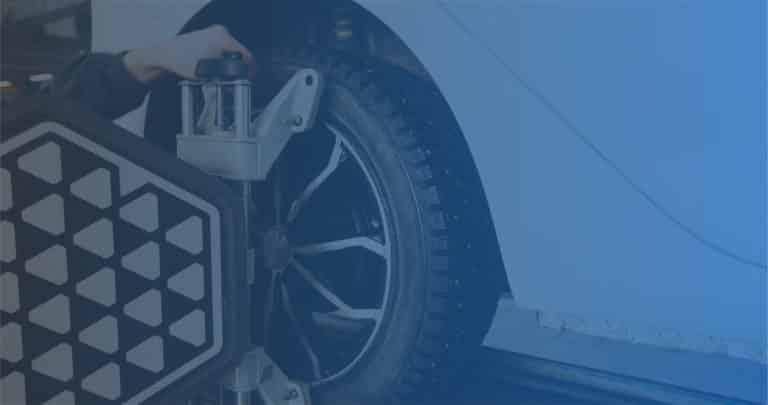
- Wheel alignments and suspension repairs affect ADAS accuracy, requiring recalibration.
Collision Repairs
- Any impact affecting the front fascia, bumpers, or ADAS sensors necessitates calibration.
- Radar sensors cannot be repaired; they must be replaced if damaged.
With these scenarios in mind, let’s move into the actual calibration process.
Step-by-Step Guide to Calibrating Rivian Vehicles
Rivian requires the use of OEM service manuals and approved calibration tools for ADAS calibration. Below is an overview of key steps for different systems.
Pre-Calibration Checks
- Ensure Rivian-approved tools and software are being used.
- Confirm that the vehicle is parked on a level surface with proper tire pressure.
- Check that no third-party films (vinyl wrap, PPF) are applied to sensor areas, as non-XPEL films may interfere with calibration.
Camera Calibration
- Front Driver Assistance Camera: Requires static or dynamic calibration when replaced or when the windshield is replaced.
- Surround View Cameras (front bumper, rear bumper, side mirrors, liftgate on R1S): Require static calibration when removed or replaced.
- Steps for Static Calibration:
- Position the calibration target in front of the vehicle at manufacturer-specified distances.
- Use Rivian’s OEM diagnostic tool to initiate calibration mode.
- The system will automatically adjust the camera’s field of view based on the target.
- Confirm calibration accuracy with a full system scan.
- Steps for Dynamic Calibration:
- Connect Rivian’s service software and select the dynamic calibration mode.Drive the vehicle at specified speeds on a straight road.
- The system will self-calibrate based on road markings and real-world objects.
- Confirm proper calibration using Rivian’s diagnostic confirmation tool.
Radar Sensor Calibration
- Front Center Radar Sensor: Requires static or dynamic calibration when replaced.
- Corner Radar Sensors (front and rear): If replaced, they must be variant coded when reinstalled.
- Steps for Static Calibration:
- Mount the calibration panel in front of the vehicle at Rivian’s specified distance.
- Use Rivian’s diagnostic tool to initiate radar alignment mode.
- Follow on-screen prompts to fine-tune the radar’s angle.
- Run a full ADAS scan to confirm calibration.
- Steps for Dynamic Calibration
- Select dynamic calibration mode in Rivian’s service software.
- Drive at constant speeds in a straight line while the radar self-adjusts.
- The system will confirm successful calibration when all radar functions operate normally.
No-Repair Zones
- The front upper fascia around the radar sensor is a No-Repair Zone.
- No-Repair Zone Dimensions (Front Center Radar):
- 110mm height
- 40mm width
- 140mm length
- No-Repair Zone Dimensions (Front Center Radar):
- Only clearcoat can be applied to this area—no paint, primer or sealant is allowed.
- If any repairs beyond clearcoat application are needed, the entire bumper must be replaced.
Final System Verification
- Perform a full ADAS diagnostic scan.
- Conduct a test drive to ensure all calibration points are accurate.
- Document the calibration results and provide a report to the customer.
Now that you’re familiar with the calibration process, let’s discuss how to set up your shop for Rivian services.
Common Mistakes to Avoid When Calibrating Rivian Vehicles
Calibrating Rivian’s advanced ADAS systems requires precision, the right tools, and strict adherence to OEM guidelines. Even small missteps can cause system malfunctions, safety risks, or failed calibrations. Here are some of the most common pitfalls technicians and shops should avoid:
1. Using Non-OEM Tools or Targets
Rivian’s calibration procedures rely on proprietary diagnostic software and measurement equipment. Using generic tools or third-party targets can result in inaccurate calibration—or worse, damage to the vehicle’s systems.
2. Performing Calibration in Uncontrolled Environments
Rivian requires static calibrations to be performed on level surfaces in controlled lighting conditions. Performing calibration in poorly lit or uneven environments increases the risk of errors and failed sensor alignment.
3. Applying Wraps or Films Over Sensor Zones
Rivian explicitly prohibits non-XPEL film applications near ADAS sensor zones. Even high-quality vinyl wraps or ceramic coatings can disrupt radar and camera functions, triggering sensor errors or degraded performance.
4. Ignoring Ride Height and Tire Pressure
Ride height changes caused by under- or overinflated tires, aftermarket suspension parts, or incomplete alignments can throw off sensor positioning and camera fields of view. Always confirm OEM ride height and tire specs before calibration.
5. Skipping Post-Calibration Test Drives and Scans
Some shops assume that running the calibration process is enough, but without performing a final diagnostic scan and on-road test, there’s no guarantee the system is functioning as intended. Rivian requires full verification for all calibrations.
Avoiding these mistakes not only ensures safety and compliance, it also protects your shop from warranty issues, customer complaints, or costly rework. In Rivian’s ecosystem, attention to detail is everything.
How to Offer Rivian Calibration Services at Your Shop
Rivian does not allow independent, non-certified shops to perform ADAS calibrations on its vehicles. All repairs and calibrations involving Driver+ components must be performed by a Rivian Certified Technician at either a:
- Rivian Service Center
- Rivian Certified Collision Center
How to Become Rivian Certified
Becoming a Rivian Certified Collision Center is a more extensive process than individual technician certification. Your shop must meet strict facility, equipment and training requirements to qualify.
Facility & Equipment Compliance
Your shop must have:
- OEM-approved calibration tools & software
- Rivian-certified ADAS repair bays
- Dedicated EV workstations with high-voltage safety equipment
- ADAS calibration targets positioned at Rivian-specified distances
Rivian Certified Technicians
At least one Rivian Certified Technician to perform calibrations.
Use Rivian Original Equipment Parts
Certified shops must only use OEM Rivian parts for ADAS repairs.
Apply for Certification & Pass Rivian’s Audit
- Submit a Rivian Certified Shop Application with proof of:
- ADAS calibration equipment
- Must be an approved equipment provider, such as Autel
- Shop layout & workspace compliance
- Trained technicians on staff
- ADAS calibration equipment
Once your shop is Rivian Certified, you can attract customers and position yourself as a top Rivian ADAS service provider. Additionally, you will have access to:
- Rivian technical support
- Exclusive training opportunities
- Marketing materials featuring your shop on the Rivian website.
EVs are becoming increasingly popular, and with that comes a growing demand for certified technicians who can properly repair and calibrate them. By becoming Rivian Certified, you can be at the forefront of this market.
Start Offering Rivian Calibrations with Confidence
As Rivian continues to revolutionize the EV industry, the demand for expert calibration services will only grow. Whether it’s a windshield replacement, a bumper repair, or an alignment adjustment, Rivian’s advanced ADAS and sensor systems must be recalibrated to ensure optimal performance and safety. At Car ADAS, we provide comprehensive technician training and calibration center solutions, equipping you with the skills, tools and certification needed to offer top-tier Rivian calibration services. Whether you’re setting up a new calibration bay or looking to expand your expertise in EV calibration, Car ADAS has the resources to help you succeed. Contact us today to learn more.
Click here for more information on Rivian’s position statements and service guidelines.
Image credit: jetcityimage – stock.adobe.com


